Add Web Pages to NotebookLM with a Right-Click (7 Context-Menu Tools)
Enhance your NotebookLM experience with our free browser extension.
View plans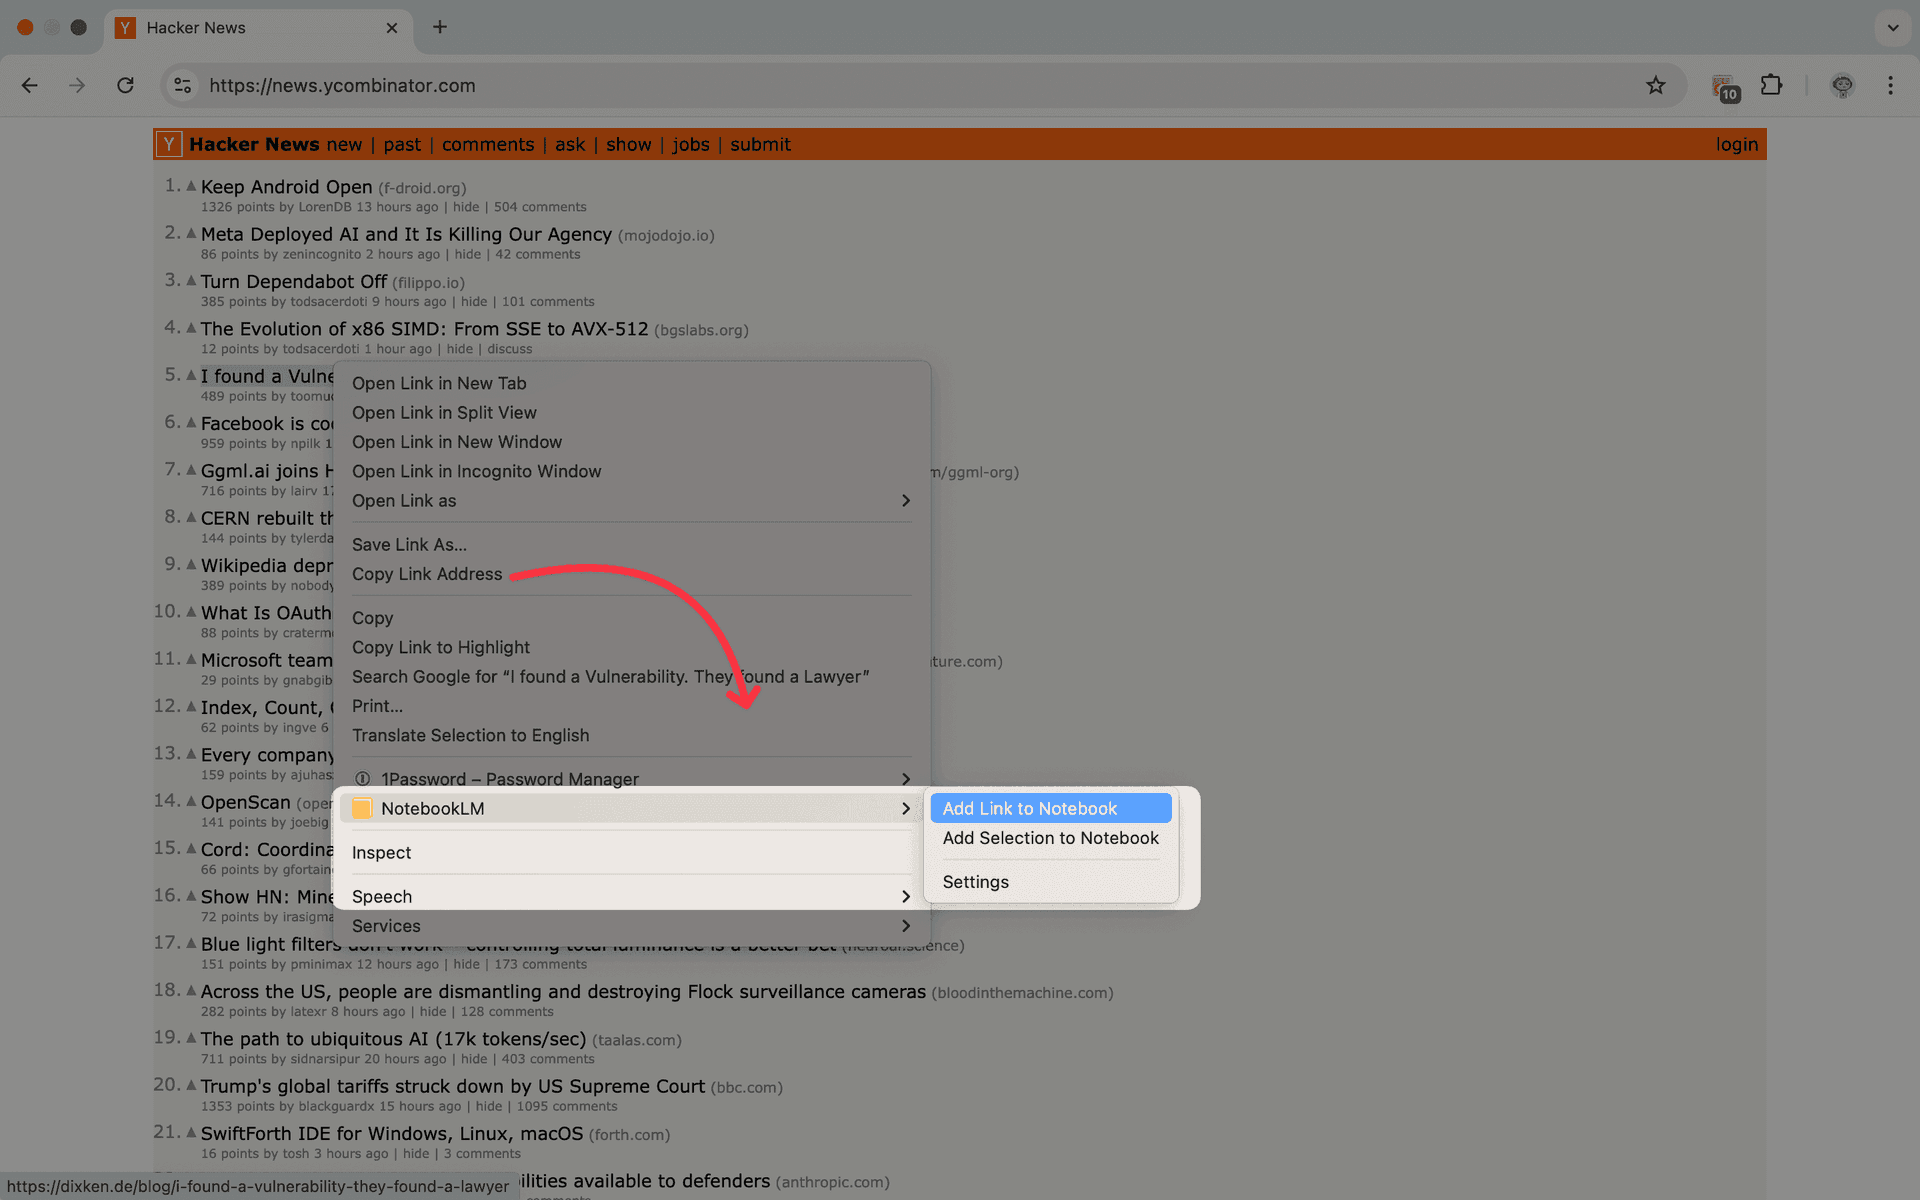
The fastest way to add a web page to NotebookLM is one you probably use hundreds of times a day already — a right-click.
When you're deep in a research session, switching between reading and tool management kills your momentum. Opening the extension, navigating to the import screen, pasting a URL — these extra steps feel small individually, but they accumulate. Over a full research session, the friction adds up to real lost time.
The context menu integration in NotebookLM Tools removes that friction entirely. Right-click on any web page, select the action you want, and the source is added to NotebookLM. No tab switching, no UI navigation, no interruption.
Why Right-Click Import Changes Your Workflow
Traditional source capture follows a multi-step pattern: find something useful, stop reading, open a tool, perform the import action, return to reading. Each import creates a small context switch — and context switches are expensive for focused work.
Right-click import collapses those steps into a single gesture. The key benefit is staying in reading mode. You never leave the page you're on. You never shift your attention from the content to the tool. You capture the source at the exact moment it feels relevant, then keep reading.
Over time, this changes how you research. You become more willing to capture sources that are "probably useful" rather than only saving the ones that are "definitely important." This broader capture means fewer missed references, better coverage of your topic, and a richer notebook for NotebookLM's AI to work with.
The 7 Right-Click Context Menu Actions
NotebookLM Tools adds seven distinct actions to your browser's right-click context menu. Each one is designed for a specific capture scenario you encounter while browsing.
1. Add Page to Notebook
Right-click anywhere on a web page and select this option to import the current page as a new source in NotebookLM.
This is the most commonly used action — the one-click equivalent of copying the URL, opening NotebookLM, and pasting it into the source import dialog.
2. Extract Links to Notebook
This action scans the current page, extracts all links, and lets you review and select which ones to import as sources. It's powerful for pages like course syllabi, reading lists, curated collections, or resource directories where you want to import multiple linked references at once.
3. Import Playlist to Notebook
This action appears on YouTube playlist and watch?list= URLs. Right-click the page and the extension queues the playlist's videos so they can be imported together — ideal for lecture series, conference recordings, or multi-part tutorials.
4. Import RSS Feed to Notebook
When you're on an RSS, Atom, or feed URL, this option lets you pull the feed's recent entries into your notebook in one pass. Useful for blogs, news feeds, and podcast feeds where you want several entries as sources.
5. Add Link to Notebook
When you right-click on a hyperlink (not the page itself), you can import the linked page as a source without even opening it first. This is especially useful when scanning a reference list, a search results page, or a bibliography.
You see a promising link, right-click it, and add it — all without navigating away from your current page.
6. Add Selection to Notebook
Highlight a specific passage on a page, right-click, and add just that selected text as a source. This is useful when a page contains a mix of relevant and irrelevant content and you only want to capture a specific section.
7. Settings
The Settings entry is always available on pages, links, and selections. It opens the extension's configuration panel so you can adjust preferences without leaving the page you're reading.
How to Set Up Right-Click Import
Step 1: Install NotebookLM Tools
Install the NotebookLM Tools extension from the Chrome Web Store, or install it on Firefox. It works on Chrome, Edge, Brave, Arc, Opera, and Firefox.
Step 2: Verify Context Menu Access
After installation, navigate to any web page, right-click, and look for the NotebookLM entry in the context menu. The menu actions should appear automatically — no additional configuration needed.
Step 3: Open NotebookLM
Open NotebookLM and select the notebook you want to import into. When you trigger a right-click action, the extension opens a preview page where you can confirm the target notebook before sending the source.
Step 4: Start Capturing
Browse normally. When you find something worth saving, right-click and select the appropriate action. That's all there is to it.
Workflow Integration Tips
Batch your organization. Right-click import is designed for speed, not organization. Capture sources freely while browsing, then periodically organize them into source folders when you're ready to shift from discovery mode to analysis mode.
Use "Add Link" on search results. When searching Google Scholar, PubMed, or any other index, you can right-click result links to add them without opening each one individually. This turns a search session into a batch import session.
Pair with saved prompts. After importing several sources during a browsing session, switch to NotebookLM and use saved prompts to quickly analyze the new material. This creates a fast capture-then-analyze cycle.
Check source freshness for Drive files. If you import Google Drive documents, you can use source freshness checking to detect when those Drive files are updated later. For web pages, you would need to manually re-import if the content changes.
Combine with bulk tab import. If you've opened many tabs during a research session, you can also use the bulk tab import feature to capture everything at once — right-click for individual pages, tab import for bulk capture.
Frequently Asked Questions
Do right-click imports work on every website?
Right-click import works on most public web pages. The extension sends the URL to NotebookLM, and NotebookLM fetches the page itself — so any site NotebookLM can reach publicly will work. Pages behind paywalls or intranet logins may not be accessible to NotebookLM's fetcher, the same way they wouldn't be when you paste the URL manually.
Can I right-click import PDFs?
If a PDF is displayed in your browser, you can right-click the page and import it. For local PDF files, use NotebookLM's native file upload or the manual import option in the extension.
Does right-click import work with Google Docs?
For Google Docs and other Google Workspace files, it's better to add them through NotebookLM's native Google Drive integration, which maintains the live connection between the document and the source.
Can I undo an import?
Sources added to NotebookLM can be deleted from the source panel at any time. If you accidentally import the wrong page, simply remove it from your source list.
Make Every Right-Click Count
The best research tools are invisible — they fit into your existing habits rather than demanding new ones. Right-click import turns the browser gesture you already use constantly into a direct pipeline to NotebookLM.
Install NotebookLM Tools and start capturing sources the moment they catch your attention. See the context menu feature in action, or browse the full feature list.
Related articles:
- NotebookLM Tips #3: All the Ways to Import Sources — The complete guide to every import method available.
- How to Organize NotebookLM Sources with Folders — Structure your imports with drag-and-drop folders.
- How to Save & Reuse Prompts in NotebookLM — Analyze imported sources instantly with saved prompts.
- How to Auto-Update & Refresh NotebookLM Sources in Bulk — Ensure your imported sources stay fresh and current.
Trusted by 90,000+ NotebookLM users
Related articles
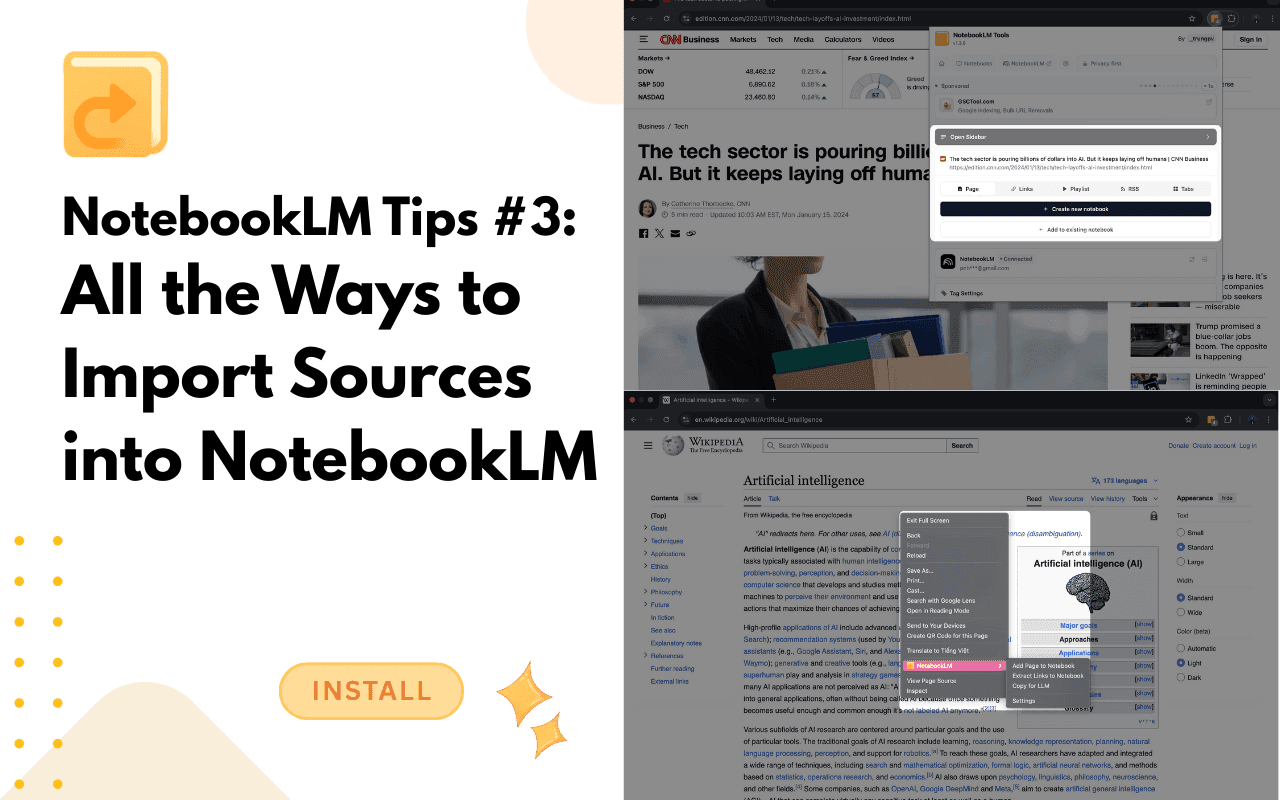
How to Import Sources into NotebookLM (Every Method, 2026)
Every way to import sources into NotebookLM — popup captures, right-click, RSS feeds, YouTube playlists, and bulk tab imports with the free NotebookLM Tools extension.

How to Add the Current Tab to NotebookLM
Add the current browser tab to NotebookLM without copy-pasting the URL. Capture any webpage as a source using the NotebookLM Tools Chrome extension.
NotebookLM Custom Instructions vs Saved Prompts (Slash Commands)
NotebookLM's custom instructions set one standing prompt per notebook. For a library of 100 reusable prompts with /slash commands, here's the free setup.